

Even if the name of the service suggests otherwise, drywall taping consists of much more than simply applying tape to your walls. In fact, it is actually one of the more complicated jobs when compared to the entire drywall installation process, and if not done properly; a lot could go wrong:
- Crowned and concaved seams
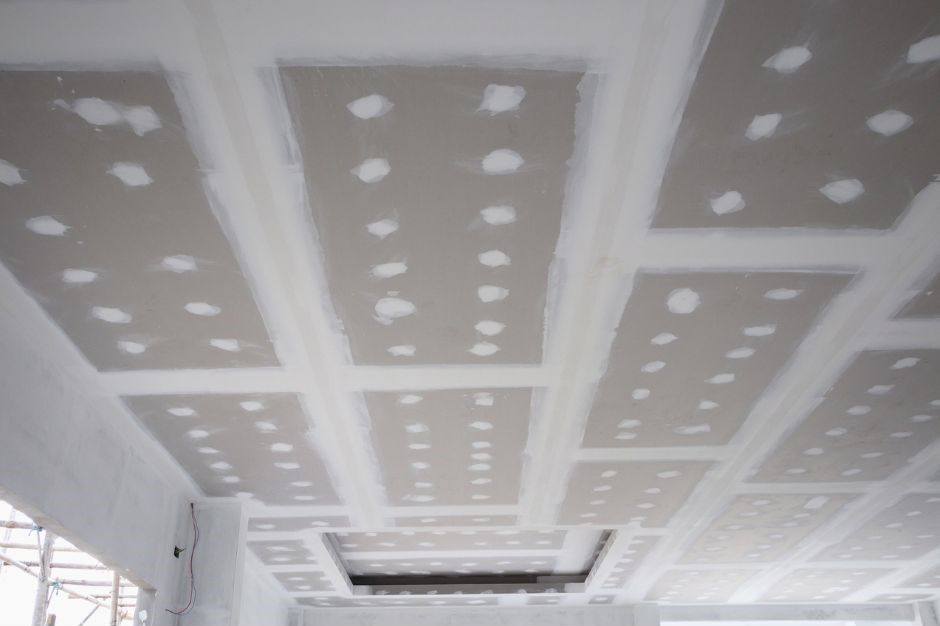
- Pitting
- Cracked and shrinking seams
- Bubbled tape
- Popped nails and screws
- Cracked or loose corners
Luckily, Chase Drywall Centennial has been in the taping drywall game for many years and is well aware of the problems that can become apparent during taping drywall. Better yet, it is a drywall taping company that will stop these problems from occurring in the first place. Get ahold of it today if you are wanting seamless walls by calling us or by filling out our quote form.
The Drywall Taping Process
Plasterboard tape and mesh share one thing in common: they are not self-sticking. This means that the joint compound that adheres to the drywall tape or mesh is essential for our drywall taper to use on your walls. It is because of this that taping and mudding drywall services are said to go hand in hand.
Below are the basic steps to taping drywall corners that many professional drywall installers adhere to:
- The first step in the taping process is to apply a thick layer of joint compound between two pieces of
finishing drywall; this area is commonly referred to as the “trough” area.
- The next step will usually involve the pressing of the fiberglass drywall tape into the compound, and because it is non-adhesive drywall tape, it will need to be pressed in every foot or so to ensure that the tape is sticking to the seam.
- After that, fire tape drywall, for example, will be smoothed so that any joints between the sheets of the drywall are now invisible. No tape edges should be sticking up whatsoever.
- Next, the drywall taping contractor will wait for the compound to dry. Generally, this takes up to 24 hours.
- When dry, the second coat of compound will be applied. Time is also needed to allow for this coat to dry, before applying the third and final coat of compound. Depending on your drywall contractor and the humidity, steps one through to five could take as long as four days.
- Using sandpaper or a sanding mesh, the seams will then be sanded until smooth.
- Lastly, the dust created from sanding will need to be cleaned from the walls.
Chase Drywall Centennial follows these steps to ensure that you are getting the best possible sheetrock taping results each and every time, whether this is for a new wall or repairing an existing one using drywall repair tape.
How Much Does It Cost to Tape and Mud Drywall? – How Pros Price
The estimated cost to tape and mud drywall usually includes:
- The costs for local material or equipment delivery
- Costs to prepare the worksite for the taping of your drywall
- Mobilization time, labor setup time, and minimum hourly charges
Who To Call
While every new build requires sheetrock taping, sometimes, it is also necessary to tape drywalls for repairs. Chase Drywall Centennial will ensure that you take the best possible course of action when it comes to drywall tape repairs, renovations, and even new constructions.
Call us today - we are here to answer any of your taping questions!